Initially ‘Template123’ will contain all columns available using the Wizard. You can however modify this to create a customized sheet with a reduced number of columns displayed in the order that you prefer.
It is recommended however that you create your own templates using the ‘Customize Fields’ functionality. This provides for three customized templates to be created (Create, Correct and Return). Details of this functionality can be found in the Customize Fields section of this document.
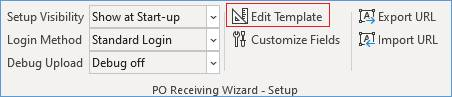
To modify ‘Template123’, select the ‘Edit Template’ button to make the sheet available in your worksheet.
You can subsequently alter the sheet and then select the ‘Edit Template’ button to make the sheet hidden.
Recommended– Save a copy of the workbook before modifying ‘Template123’. This will enable you to go back to the full Template (if necessary). Alternatively, you could download a new copy from our website.
When you subsequently click on the ‘New Sheet’ button, the new worksheet is created using the layout as per the Template123.
The column names are stored in row 9. These are fixed and cannot be changed. Do NOT insert or delete ROWS before row 11 (Row 10 is the Default Values row). The case of the column name is not important but spelling is. If you change the content of row 9 in any column, you have in effect deleted the column as far as the program is concerned. You can however move the columns anywhere you like or even delete them.
Do Not Hide Columns
It is recommended that you do NOT HIDE any columns in your worksheet because when your worksheet is uploaded into Oracle the hidden columns will also be uploaded.
Customize the Logo
You can also change the default More4apps logo that appears in the top left-hand corner of all worksheets. To do so, follow the directions in the Template123 worksheet. Once changed, all new worksheets created will show the custom logo.
Follow the directions in the Template123 worksheet or click on this link to navigate toCustomize the More4apps Logo. This section is common to all of our tools.
Once changed, all new worksheets created will show the custom logo.