Customize the Template Sheet
When you click on the ‘New Sheet’ button  , a new worksheet will be created based on the ‘Template123’ worksheet. The ‘Template123’ worksheet can be modified so that new worksheets are created based on the modified format.
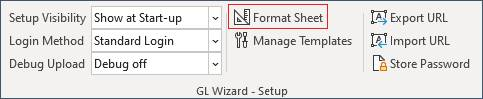
Use the ‘Customize Logo’, ‘Edit Template’, or ‘Format Sheet’ button (dependent on which Wizard you are using) on the Setup ribbon, to display/hide the ‘Template123’ worksheet.
Example of Employee Wizard – Setup ribbon: ‘Edit Template’ button:
Make changes to the Template worksheet as required. Changes that could be made to the Template worksheet include:
· Delete any columns not required
· Set up formulas to calculate values
· Re-order columns
· Add or modify comments to assist users
· Format cells
· Put your own Company Logo on the worksheet.
· Insert new columns for Descriptive Flexfields (DFF’s)
Any new worksheets created using the ‘New Sheet’ button  will include the changes you have made to ‘Template123’.
NOTE: Save a copy of the workbook before modifying ‘Template123’. This will enable you to go back to the full Template (if necessary). Alternatively, you could download a new copy of the Wizard from our website.
Customize the More4apps Logo
The following describes two options for replacing the More4apps Logo on your Wizard:
Option 1 – Change the Picture
This option is only available if you have not already deleted the More4apps Logo. If the Logo has already been removed, go to Option 2:
(i) Click the ‘Customize Logo’, ‘Edit Template’, or ‘Format Sheet’ icon (depending on which Wizard) on the Setup ribbon, to display/hide the ‘Template123’ sheet for changing the Logo.
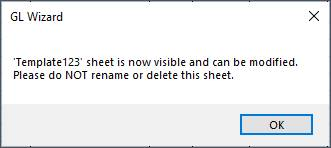
The following message box will display:
This sheet stores the current logo that is used by default in the Wizard templates but can be changed at the user’s discretion.
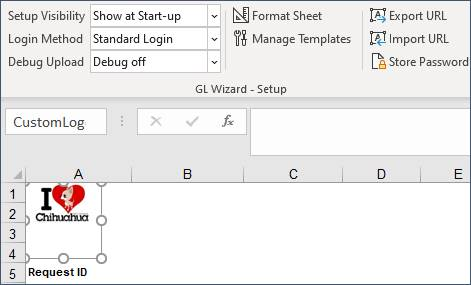
(ii) Locate the Template123 worksheet.
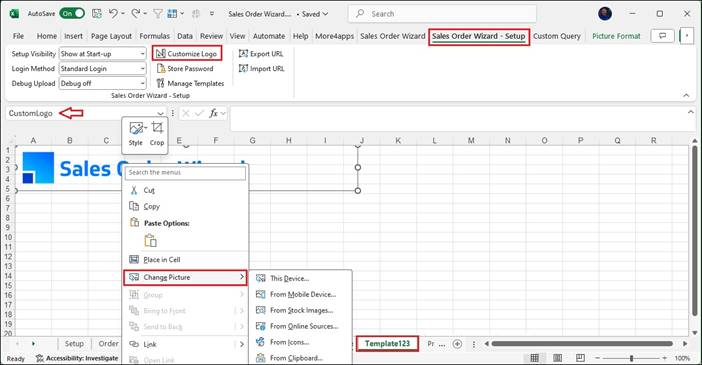
(iii) On Template123 sheet, select the More4apps Logo.
(iv) The Name Box should show ‘CustomLogo’.
(v) Right click on the Logo and select ‘Change Picture’.
(vi) Select your own Logo.
(vii) Click ‘Customize Logo’, ‘Edit Template’, or ‘Format Sheet’ again to hide Template123.
(viii) Save the Wizard
Option 2 – Insert a new Logo
This option must be used if you have already deleted the existing Moro4apps logo.
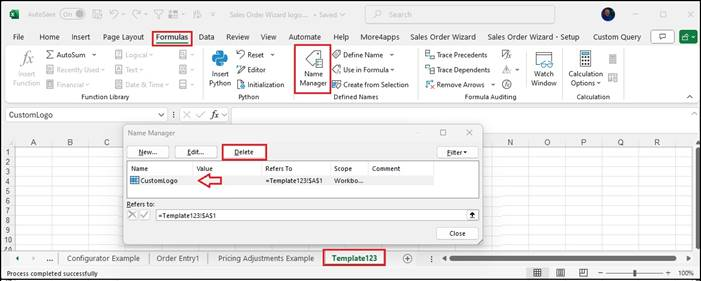
(a) First delete the Range Name ‘CustomLogo’ in Excel using ‘Name Manager’.
(i) Go to Formulas>Name Manager’.
(ii) Select ‘CustomLogo’ from the list.
(iii) Click ‘Delete’ and confirm the Delete action.
(b) Next insert your new image and rename it ‘CustomLogo’.
(i) Click ‘Customize Logo’, ‘Edit Sheet’, or ‘Format Sheet’ (depending which Wizard) to expose Template123 sheet.
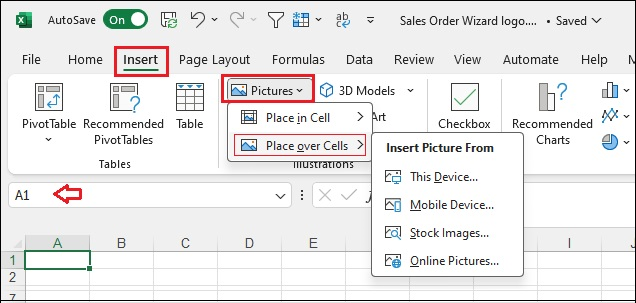
(ii) On Template123 sheet, click into Cell A1.
(iii) Go to ‘Insert>Pictures>Place over Cells’ and select your Logo image.
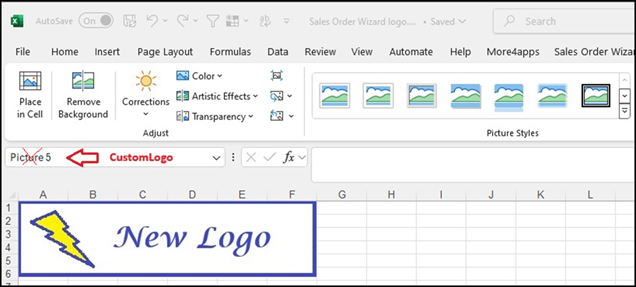
(iv) Move and resize the image if needed.
(v) Select the image and type “CustomLogo” in the name box to replace the default name.
(vi) Click ‘Customize Logo’, ‘Edit Sheet’, or ‘Format Sheet’ to hide Template123.
From this point on, all new sheets created using the ‘New Sheet’ button on the Wizard ribbon will use the icon inserted above.
Column Names in Row 9
The column names are stored in row 9. These are fixed and cannot be changed. Do NOT insert or delete ROWS before row 10. The case of the column name is not important but spelling is. If you change the content of row 9 in any column, you have in effect deleted the column as far as the program is concerned. You can however move the columns anywhere you like or even delete them.
Do Not Hide Columns
It is recommended that you do NOT HIDE any columns in your worksheet because when your worksheet is uploaded into Oracle the hidden columns will also be uploaded.
Refer to section: