To upload Org Assignments, ensure the steps were followed in the previous sections for entering data for the Item and Assign sections.
When all data has been entered you can then use the upload options available in the Wizard ribbon.
‘Upload Selected’ will load all data on the sheet that is selected with the cursor. Whereas ‘Upload All’ will load all data on the current sheet.
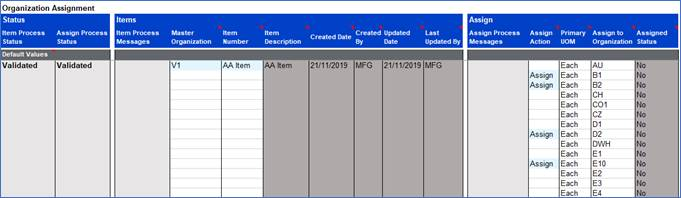
When a record has been downloaded via ‘Not Org Assignment’ source, prior to upload it may look something like this:
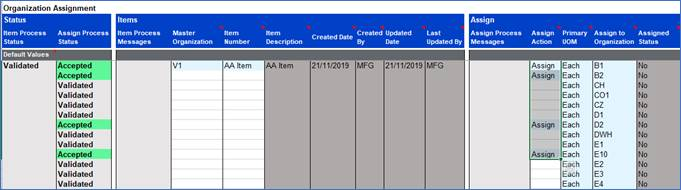
Keep the rows that you want to assign to and remove other rows that you don’t want to assign to. Enter ‘Assign’ in the Assign field for those rows you want to assign to and upload the record.
Organization assignment uses API to update. Unassigned to organization is not available in the API.
Alternatively, if you have just created the Item in the Item Master in the Item mode you could simply copy and paste the rows in the worksheet as long as the worksheet layout is the same.
•Clear out the Item ID and any Status columns (you can use the ‘Clear Status Columns’ iconon the Item Wizard ribbon).
•Change the Organization Code to the new organization code and change any data which may be different based on the Organization code. For example the GL segments may be different between organizations.
Optionally, you can clear the attributes controlled at the master level. If you do not clear them you will get warning messages, however the item will still load correctly. This rule applies for categories if held at the master level and the catalog information which is held at master level only.