Attachments
GL Wizard enables the loading of Attachments against Journal Header’s.
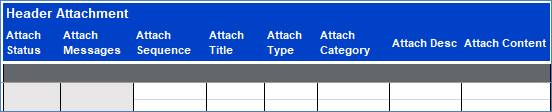
To enable this functionality you must have the ‘Attachment’ section displayed in your worksheet.
Note - You can upload multiple attachments for the same journal by having the attachment information on additional rows.
Attachments are uploaded to the Journals using the ‘Refresh Interface Status’ icon after the journals have been successfully created in General Ledger as part of the Journal Upload process.
Alternatively the ‘Attachments’ icon on the ribbon can be selected and then either click the ‘Upload All Attachments’ or ‘Upload Selected Attachments’ option. Validate Option must be ‘Validate and Upload’.

To Upload Attachments for Multiple Journals or as part of the Journal Upload:
1) Either download journals into your worksheet, or be in a sheet where you have already uploaded the journals into General Ledger and not yet uploaded the associated attachments. This occurs when the worksheet records have been interfaced and imported but the 'Refresh Interface Status' button has not yet been selected.
2) Add the Attachment details for each of the records using the data entry assistance ‘Attachment’ form or type the information directly into the sheet cells. These can be entered in the worksheet either before or after the journals are uploaded to the interface.
3) Click the 'Refresh Interface Status' button on the GL Wizard ribbon. This will establish which journals in the worksheet now exist in General Ledger and identify those that have attachments awaiting upload.
The following message will appear:
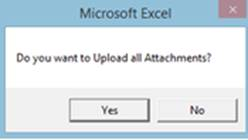
4) Click ‘Yes’ to create the attachments against the journals in General Ledger. The 'Attach Status' column in your worksheet will read Accepted.
Note: If attachment information exists in the sheet when first uploading your journals, clicking the ‘Refresh Interface Status’ button will also upload the attachments if you click ‘Yes’ on the same message above.
To Upload an Attachment for a Single Journal:
1) Either download the journal into your worksheet, or be on a row where you have already uploaded the journal into General Ledger.
2) Click the ‘Form’ icon and select ‘Actuals Attachment’ on the GL Wizard ribbon. This will open the form where you can select one of three Types – Short Text, Web Page or File.

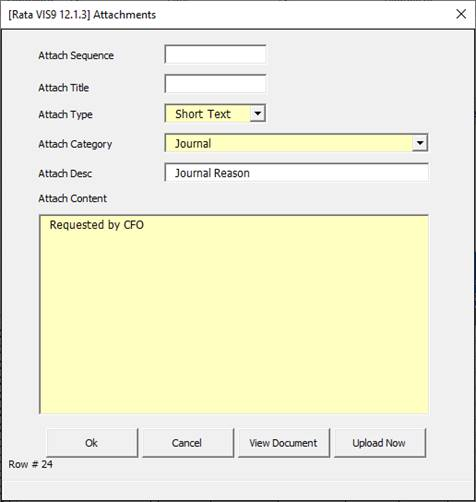
3) Optionally enter a Sequence and Title if required.
4) Select the Category from the list of values and enter a Description (optional).
5) Enter other relevant information required for the attachment type.
6) Notice the ‘Upload Now’ button on this form is now available. Click the button if you wish to create the attachment against the journal in General Ledger now. The form will close and the ‘Attach Status’ will now read Accepted. The attachment will now be visible on the journal.
7) If you don’t want to create the attachment in General Ledger now, click the ‘OK’ button and the form will close and write the information into the cells in the worksheet. These can be uploaded later using the instruction in ‘To upload Attachments for multiple journals’ above.
Refer to section: