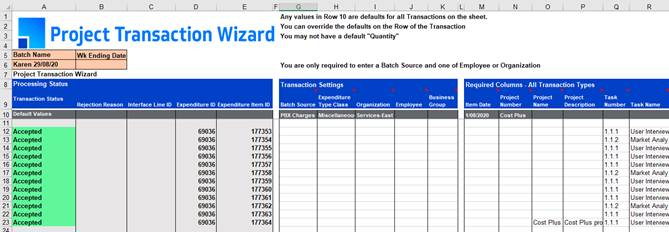
If you have a Rejected status in the status column, you need to read the message in the ‘Rejection Reason’ column and investigate the data. The error messages relate to data on the same row in the relevant section.
To correct the information either key directly into the worksheet or open the‘Transaction Details’ form.
Once the data has been corrected you can choose to either upload one row, selected rows or the entire worksheet and all records will successfully be transferred into Oracle Projects. They will have Accepted as an Upload Status.
If for any reason you want to delete a Pending or Rejected transaction batch (ie uploaded into the interface table but not yet imported in Oracle Projects) there is functionality provided to do so ie this does not include Accepted records. An ‘Update’ facility is not available for the interface table.
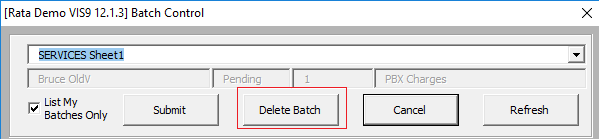
To delete a Transaction Batch, click the ‘Control Transaction Batches’ icon on the ribbon. This opens the ‘Batch Control’ form.
Select the batch required from the LOVs and click the ‘Delete Batch’ button. This will work for both Pending and Rejected transaction batches.
Delete Selected Transactions
If you wish to delete selected transactions in a batch and not the whole batch, click the ‘Delete Selected Transactions’ icon on the ribbon.