A form has been provided to assist with selecting the sections and fields to include in the worksheet.
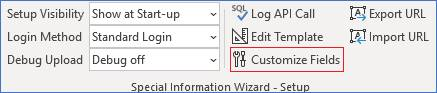
Click on the ‘Customize Fields’ icon on the Special Information Wizard - Setup Ribbon.
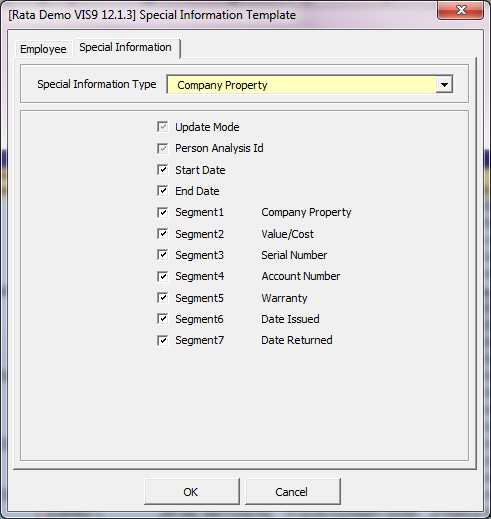
The following ‘Special Information Template’ form will open:
Select a Special Information Type from the dropdown list.
The segments for the selected Special Information Type will display. The custom names that you have within Oracle Human Resources appear to the right of the segment. The segments will default to being selected and will display in the new worksheet. If you want to exclude optional segments you can uncheck a particular segment/field.
The Update Mode, Person Analysis ID and any mandatory segments are needed within the worksheet and will not be able to be unchecked.
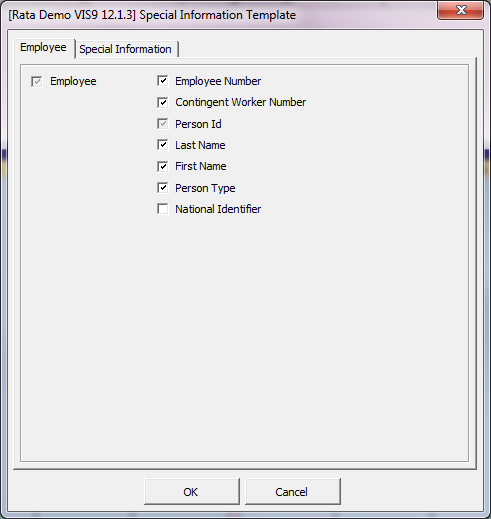
If you click on the Employee tab the employee reference fields will be listed:
The ‘Person Id’ must be included in each worksheet. You can choose whether or not to display the remaining reference fields. If you do display them it will mean that you can easily identify each person using the Employee Number, Contingent Worker Number, Last Name, First Name, Person Type or National Identifier. In the example above, the National Identifier will not be included in the new worksheet.
Click on ‘OK’ to save the template setup.
Click on ‘New Worksheet’ button  to create a worksheet based on this set up. Existing worksheets are not modified.
Modifying the Template Worksheet Directly
Each More4apps Wizard has a ‘Template123’ worksheet that is hidden and stores the worksheet set up. As with other More4apps products, it is possible to modify the template worksheet directly. However, for Special Information Wizard it is recommended that you use the Template form (described above), rather than modify the ‘Template123’ worksheet directly.
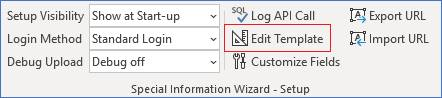
You can click on the ‘Edit Template’ icon to view the template worksheet ‘Template 123’.
You can move, hide, or delete unwanted columns. The order of the columns is not important, but columns names are, and they must be stored in Row 9. This section is common to all of our tools. Click on this link to navigate to Common User Instructions: Customize the Template Sheet.
Once the template is set up, users can click on the ‘New Worksheet’ icon and the new worksheet will be based on this setup.
Refer to section: