Transaction - Single
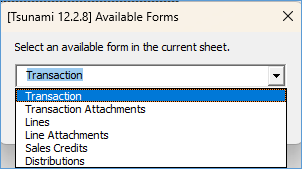
To enter data into the ‘Transaction’ section, position your cursor in the ‘Transaction’ section of the worksheet on the row you wish to enter the transaction data. Then double-click in one of the cells or alternatively click on the ‘Forms’ button on the ribbon and select ‘Transaction’ from the ‘Available Forms’ dropdown.

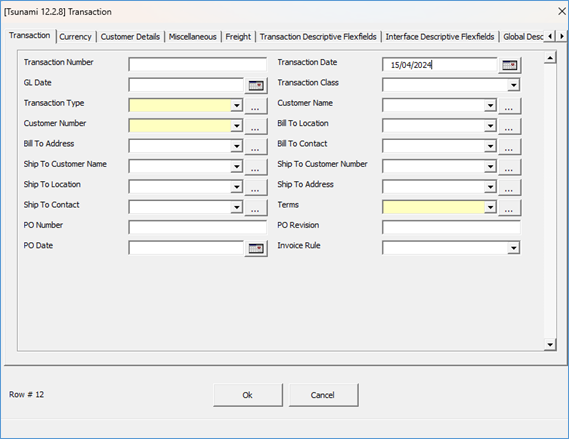
The Transaction section of the worksheet is split into eight sub-sections:
a) Transaction
This tab records the Transaction Number, Transaction Type, GL Date, Bill To Customer and Ship To Customer details etc. The yellow highlighted fields are mandatory. LOVs can be used to select values. Using the LOVs will validate the data as you enter it.

b) Currency
Records transaction and payment currency if different from that stored against the customer record.

Note - Exchange Date is required if the transaction currency is different from the functional currency. If not populated, the Exchange Date will default to the Transaction Date.
c) Customer Details
This tab records the Sold To Customer, Paying Customer details and Remit To Address. LOVs can be used to select values. Using the LOVs will validate the data as you enter it.

d) Miscellaneous
Data entered will populate to the respective fields in the ‘Main & ‘More’ sections of the transaction header in Oracle Receivables.

Note: Instrument is only available in the form in an R12 environment
e) Freight
Records freight details in the transaction header ‘Freight’ section in Oracle.

f) Transaction Descriptive Flexfields
Enter your Descriptive Flexfield Transaction Header information in this form

g) Interface Descriptive Flexfields
Enter your Interface Flexfield Transaction Header information in this form

h) Global Descriptive Flexfields
Enter your Global Flexfield Transaction Header information in this form

Click ‘Ok’ to write the data to your worksheet.
Click ‘Cancel’ to return to the worksheet without writing data into the sheet
If you have new data entered into the form and attempt to close by clicking the ‘X’ at the top right of the form, the data will be cleared and not saved.
Refer to section: