To use the Routings form, firstly position your cursor on the row you wish to contain the routing data. Then double-click in one of the cells in the Routings section and the form will automatically load. Alternatively click on the ‘Forms’ icon and select ‘Routings’ on the Routing Wizard ribbon.
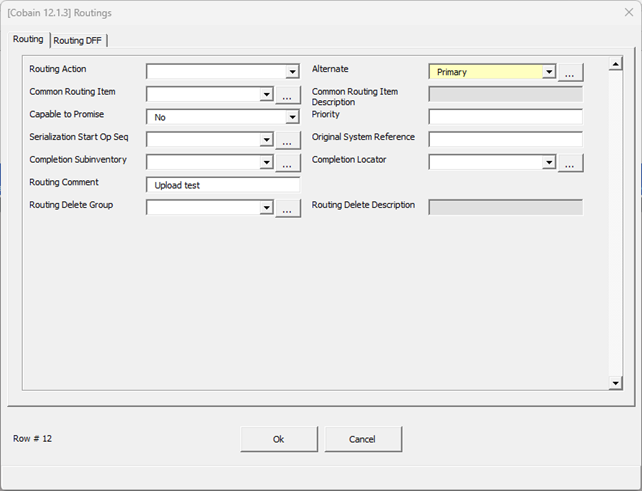
The following is an example of the ‘Routings’ form:
If data exists on the spreadsheet for the Routing, the fields in the form will automatically populate with these values.
The form functionality mimics that of the standard form in Oracle Applications (except for the ‘Delete Group’ list of values).
Prerequisites
Organization and Item information must exist in the spreadsheet.
Routing Action – The list of values contains the upload actions available for the Routings section.
Alternate – The list of values contains all Alternates predefined for the Organization.
Alternate will default to ‘Primary’ when no value selected, so to create the first Routing for an Item, enter the Organization, Item, and Routing Action and upload.
Common Routing Item – The Item relating to the Routing to which this Routing is Common.
Capable to Promise – A Yes/No flag describing an available to promise calculation.
Priority - Enter in a Priority number if you use priorities.
Serialization Start Op Seq – The list of values contains the Routing Operations. Select where you wish to begin tracking items using serial numbers.
Original System Reference – Enter a reference to where your data was imported from.
Completion Subinventory - Choose a Subinventory. The Subinventory must exist as an Asset Subinventory for the chosen Organization.
Completion Locator - Choose a Locator. This field is only enabled if Locator Control is used.
Routing Comments - Enter a Comment for the routing.
Routing Delete Group – The List of values contains all predefined Routing Delete Groups for the Organization. Choose a Delete Group in which to place the Routing.
Once you have entered your data click the:
‘OK’ button to transfer the information back to Excel.
‘Cancel’ button if you wish to revert to the values at the time you opened the form.
Refer to section: