Invoice Header

To enter data into the Invoice Header, position your cursor on the row you wish to enter the invoice data. Then double-click in one of the cells or alternatively click on the ‘Forms’ button and select ‘Invoice Header’.
The Invoice Header section of the worksheet is split into four sub-sections, these are:
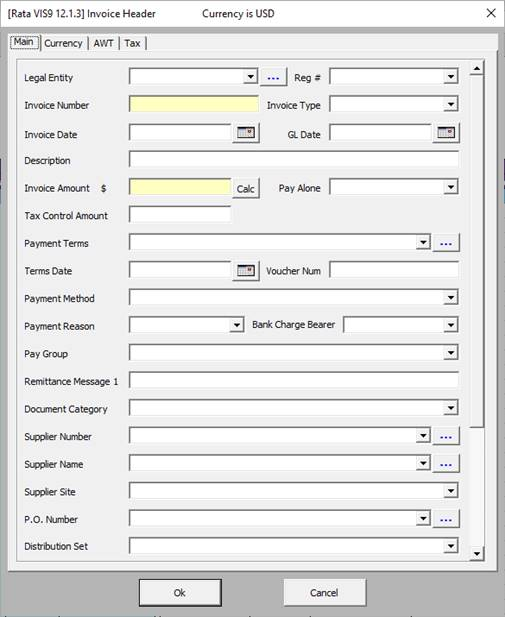
(a) Main
This area records the Invoice Number, Invoice Type, Invoice Date and Invoice Amount. It also records the Payment Terms and Supplier information.
Invoice Type
The following invoice types are available in the Wizard:
Note – Due to an Oracle restraint you can only upload Standard and Credit Memo Invoices Types in 11i.
• Standard – An invoice from a supplier representing an amount due for goods or services purchased. Standard invoices can be either matched to a purchase order or not matched.
• Credit Memo – A memo from a supplier representing a credit amount towards goods or services.
• Debit Memo – An invoice you enter to record a credit for a supplier who does not send you a credit memo.
• Expense Report - An invoice representing an amount due to an employee for business-related expenses.
• Prepayment – A type of invoice you enter to create an advance payment for expenses to a supplier or employee:
(i) Due to the constraints of the API there can only be one Prepayment line per invoice as it uses the Header interface table and won’t recognize multiple line applications.
(ii) A Prepayment invoice must exist, be validated, be paid in full and status must be ‘Available’ in Oracle before application.
(iii) The Prepayment Invoice Number needs to be keyed into the worksheet as there are no LOV’s available in the form because of the API constraint.
(iv) Prepayments are ‘Create’ only and also a one-time application.
Example of Invoice Type ‘Prepayment’:

Example Worksheet:

To create the Prepayment Invoice, the user enters the data and uploads it into Oracle. Run the ‘Submit Payables Import’ process.
On first refresh, the Prepayment Invoice status is ‘Unvalidated’.
Run ‘Submit Invoice Validation’ for that invoice and if successful, on refresh the Prepayment Invoice status is ‘Unpaid’.
Log into Oracle, query your invoice. Click on Actions > Pay in Full > OK. This opens the Payment screen. Click on Actions > OK > Save > Close.
Refresh the sheet and the Prepayment Invoice status is ‘Available’.
Only a Prepayment Invoice in ‘Available’ status can be applied to a new Standard Invoice.
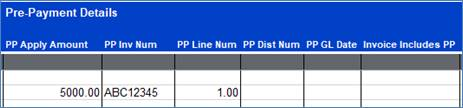
Once the Prepayment Invoice has been created (e.g. Invoice Number ABC12345) and the user wants to apply this to a new Standard Invoice, enter the details of the Prepayment Invoice into the three columns (as per screenshot below) on the line of the new Invoice and Upload:
Once processed, refresh the sheet and the Prepayment Invoice status is ‘Fully Applied’.
To see this application in Oracle, query your Prepayment Invoice and click on ‘View Prepayment Applications’ tab and the details of the Standard Invoice number it was applied to will be presented.
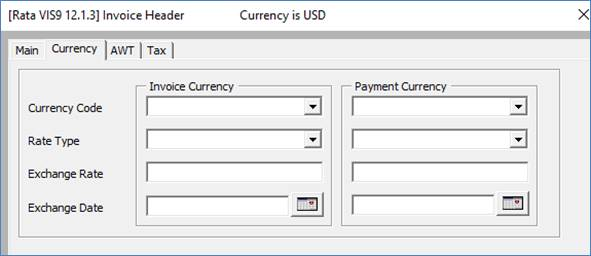
(b) Currency
This area records invoice and payment currency if different from that stored against the supplier record.
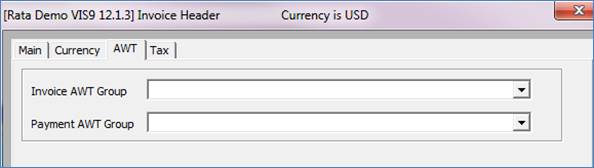
(c) AWT
This area records withholding tax information.
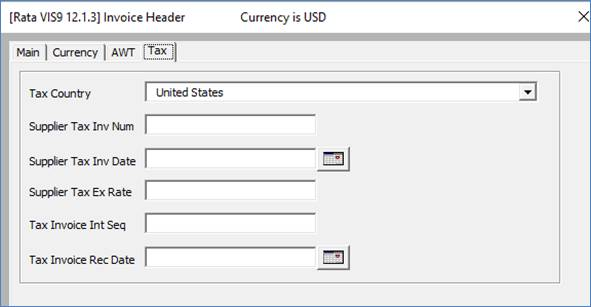
(d) Tax (this tab is only available in R12)
This area lists the Tax Country values.
Refer to section: