Undertake the following steps to set up your instances in the Wizard:
1.Open the Wizard spreadsheet.
2.To edit the list of instances, the display option on the Setup ribbon must be set to ‘Show at Start-up’.
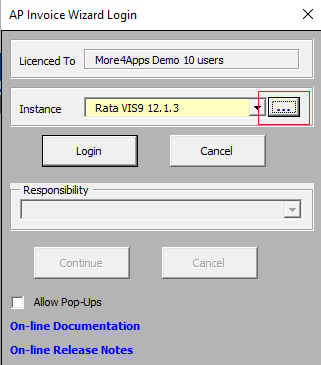
3.Click on the ‘About’ icon on the product ribbon and the Login page will open.
4.Click on the Instance ... button on the Login page to open the Configuration form.
Note– If the ... button is missing on the Login page, this is because the Setup Ribbon has been hidden by your Administrator.
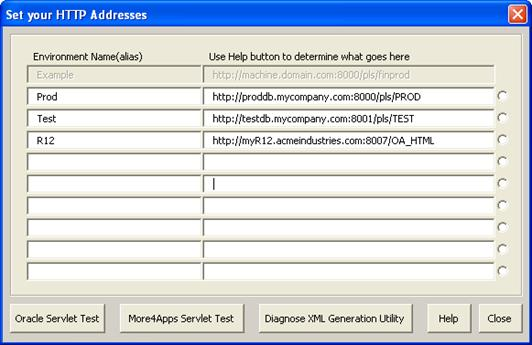
5.Enter an environment name that describes the database you are connecting to (this will display in the Instance List on the login page).
6.Enter a URL…
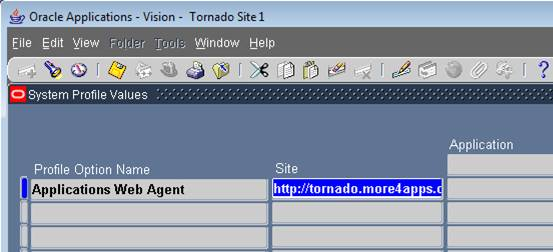
Release 11i
To find the URL for Release 11i instances, login in to Oracle E-Business Suite as a System Administrator and find the ‘Applications Web Agent’ profile option at the site level. Copy and paste this value into the Configuration form.
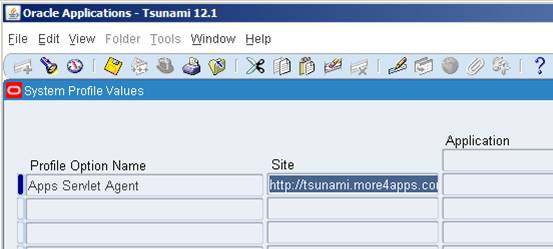
Release 12
To find the URL for Release 12 instances, login in to Oracle E-Business Suite as a System Administrator and find the ‘Apps Servlet Agent’ Profile Option at the site level. Copy and paste this value into the Configuration form.
Repeat for each instance/database that you need to connect to. Then click on ‘Close’.
The settings above are stored in the workbook, so the workbook MUST be saved or any setup you do here will be lost.