Installing More4apps Specific Loaders
If More4apps has supplied 'Specific Loaders' for your business, follow the instructions below to install and start using them:
1. Complete the appropriate instructions for running the install scripts for the Wizard and setting up the list of instances as described in the Installation and Configuration Guide.
The Readme file supplied in the zip file should explain what needs to be installed on the server.
2. Import the More4apps Template.
(a) Log into the Wizard as a user who has the System Administrator responsibility.
(b) Select 'Import Template' from the Application Interface Wizard ribbon.
Note - If the supplied template requires packages, the Wizard will check they have been successfully compiled during this step.
3. Select the new Template.
Important: The template must be selected before adding licence keys and named users, otherwise these will be added to incorrect products.
4. Enter the Licence Key and Named users for the Specific Loader:
(a) Click 'Manage Templates’ on the Application Interface Wizard ribbon.
(b) From the ‘Action’ field LOVs, choose ‘Modify’ and select the ‘Template Name’.
Click the ‘Loader Users’ button.
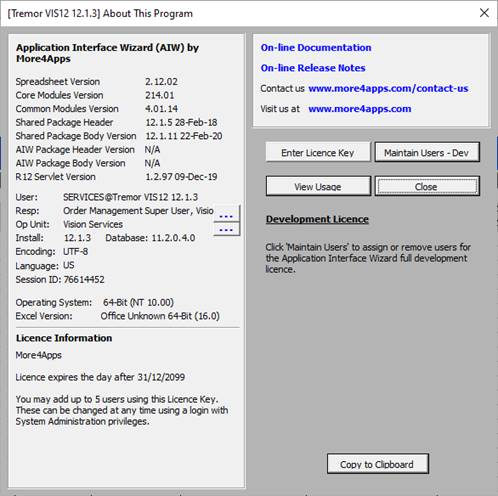
The ‘About This Program’ form will display:
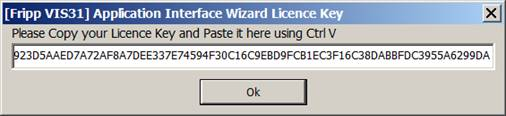
(c) Click the 'Enter Licence Key' button and paste the supplied key into the field and click 'Ok'.
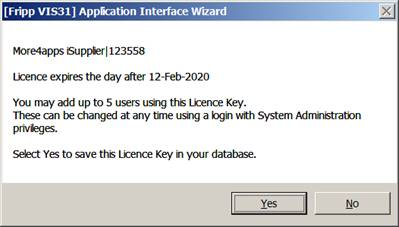
(d) Select ‘Yes’ to save the Licence Key in the database.
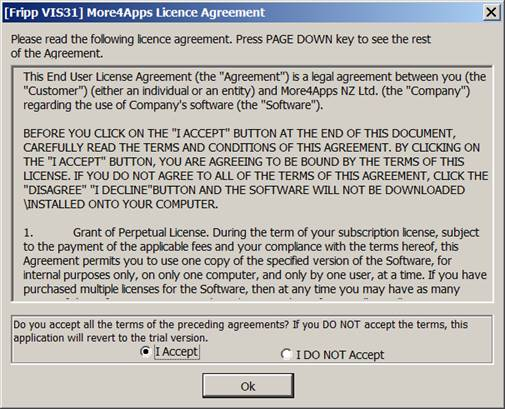
The Licence Agreement is displayed. To activate the loader, read and accept the terms by clicking in the ‘I Accept’ radio button and then click ‘OK’.
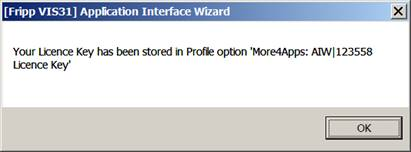
(e) A message is displayed advising that the Licence Key has been stored. Click ‘OK’.
(f) Then it will ask to assign the users for the selected template/loader. Click ‘Ok’ to assign user(s).
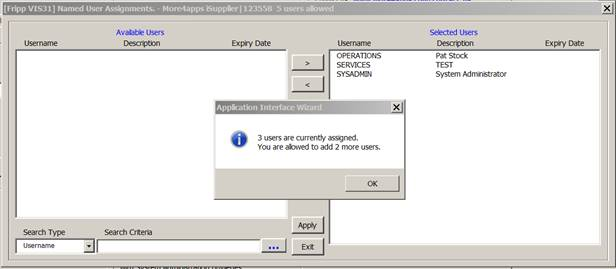
(g) If any existing users are already assigned then it will be shown in the right-hand pane. The message will also state how many users’ slots are remaining. Click ‘Ok’.
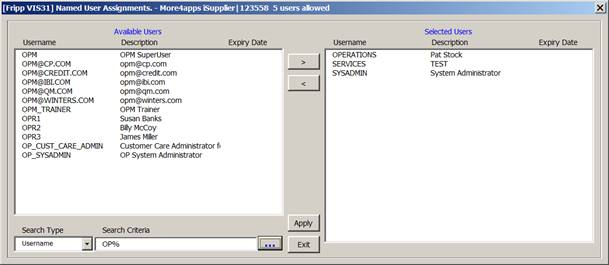
(h) Enter the full username or part of the username proceeding with a wild card (%) sign at the end and click three dot icon  next to ‘Search Criteria’ text field to see the list of available users.
(i) Select the username from the left pane to assign or the right pane to remove the loader access followed by clicking the respective buttons below.
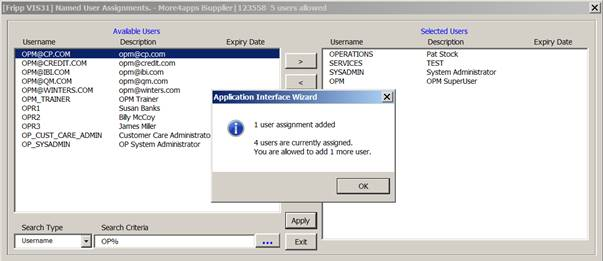
(j) Once all users have been specified or removed, click the ‘Apply’ button. A window will appear with new user assignment setup.
(k) Click ‘Ok’ and click ‘Exit’ to leave this form.